
It took me a few batches to get my recipe perfected, so don't give up if it doesn't work out just right the first time. I am going to give you a few tips that I learned in my journey for making the perfect almond butter.
Homemade Almond Butter
2 cups raw almonds (if you have a large food processor, you can add another cup or two)
pinch of sea salt
sweetener (if desired)
1. The nuts release their oils better when they are warm and I prefer the flavor of roasted almonds for my almond butter, so the first step is to roast the almonds. Preheat the oven to 350 degrees F . Place almonds in a baking dish and spread so they aren't stacked on top of each other. Cook for 10-12 minutes. You will begin to smell them when they are finished (and it smells good!).

2. While the almonds are still warm, place them in your blender or food processor (I prefer using the twister jar with my Blendtec). ***Since I have only used my Blendtec to make almond butter, I don't have a detailed description on how to make it in a food processor. There are plenty of tutorials online if that is your preferred method and you want more information.*** In the twister jar, it takes me about 5 minutes (and usually 4 cycles) to get the consistency that I want (when I start with warm almonds). If you are using a food processor or the four side or wild side jar on the Blendtec, it will take a bit longer and a bit more work (scraping the sides).

3. Turn on the blender to speed 3 or 4 and begin twisting. Allow it to run a full cycle.

Notice it is still a bit chunky

Getting creamier, but still has a few small chunks
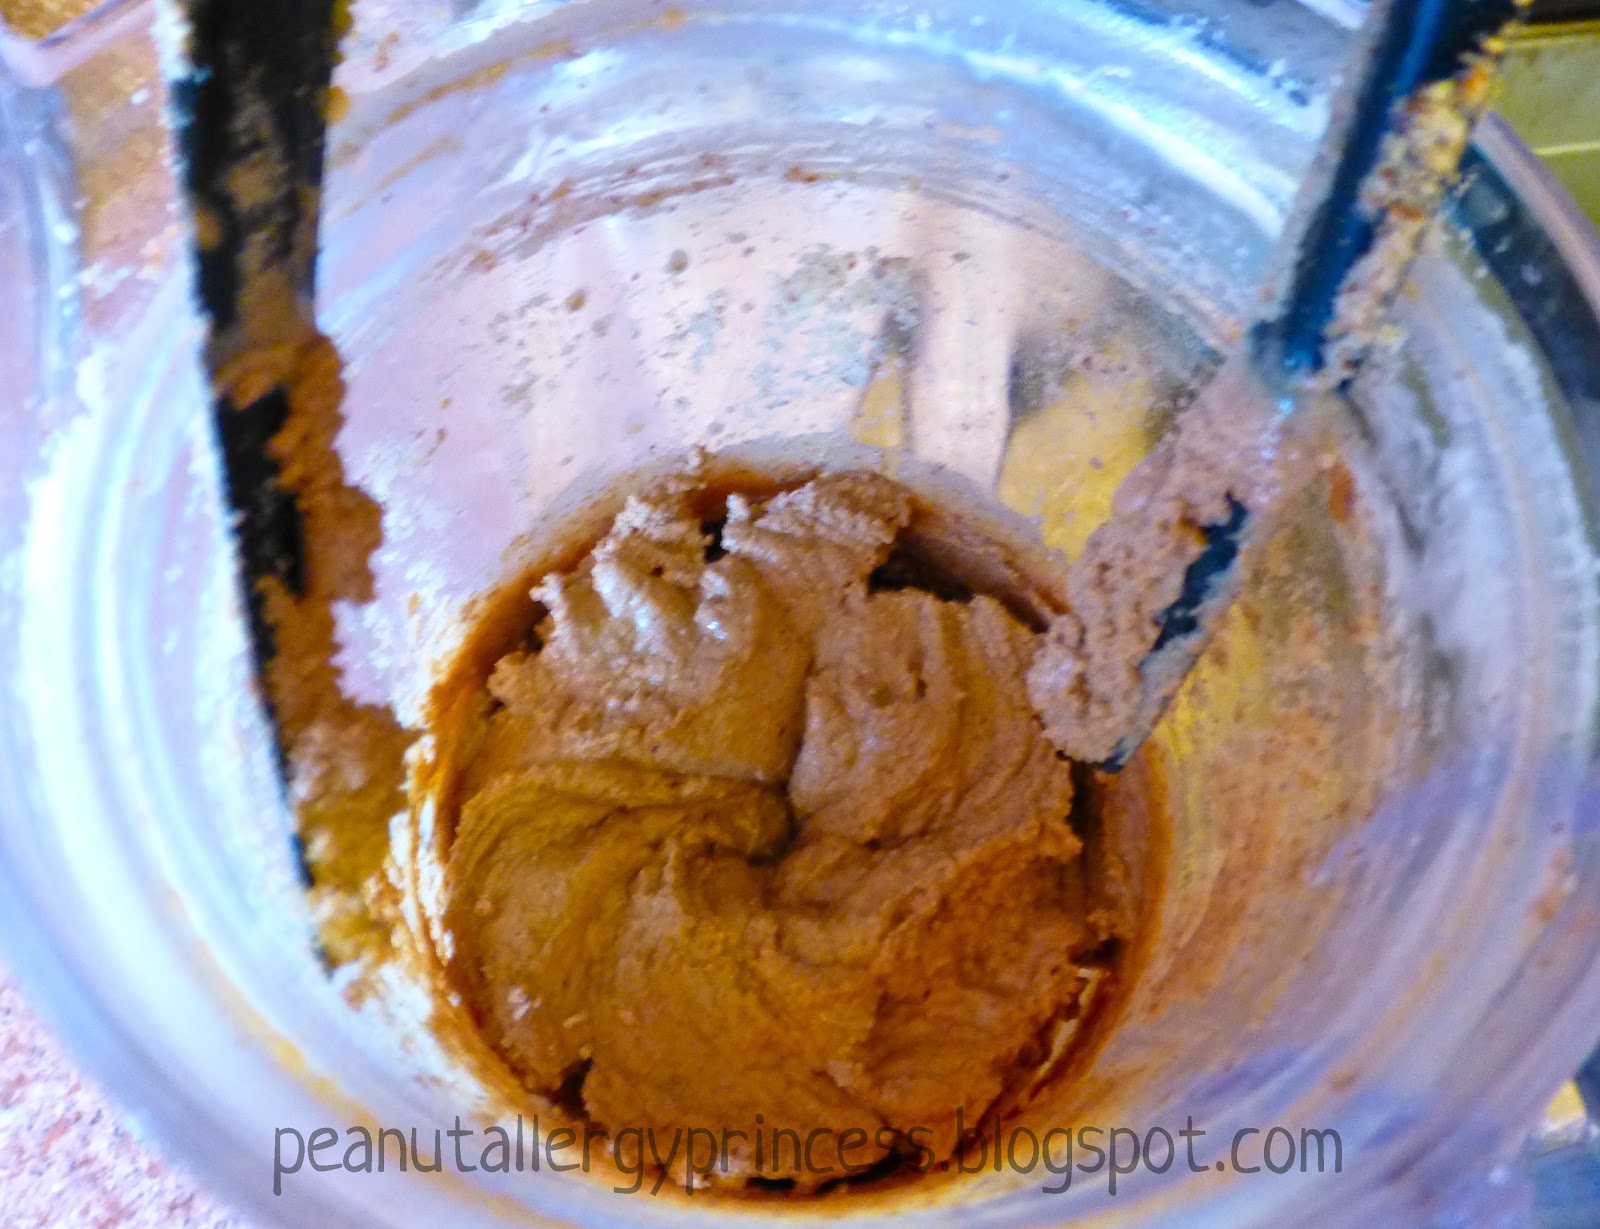
I ran it one more cycle just to get it super creamy. Sometimes, I use a spatula to move it around a little in between cycles. Beware!! It is super loud and your blender will get really warm - there may even be smoke that escapes when you open the lid in between cycles. This is normal (although it freaked me out a bit at first... I thought I was burning out my blender!)


Perfect!!

The Princess's new favorite way to enjoy almond butter - on brown rice cakes. Yum!!
Jana
No comments:
Post a Comment