
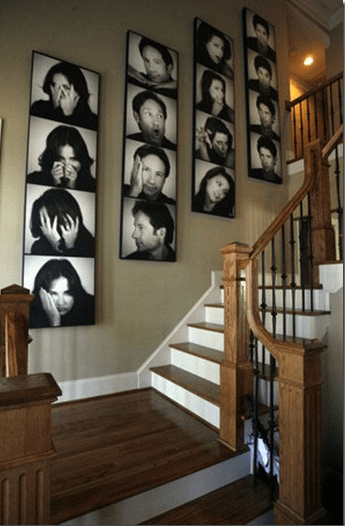
I got my original idea for doing photo booth pictures after seeing this picture online. I wanted something to hang over my bed and I thought this would be so cute. Here is my version...

Here are the basic steps:
1. Take pictures - I took The Princess and The Brothers out in front of some rocks in our neighbor's yard. I took the pictures from the the same distance and angle to they would all look the same. I left the faces up the the kids themselves... and I think they did an awesome job! Definitely not your run-of-the-mill photos - which I didn't want anyway.

2. Choose the size of pictures you want and get them printed. I chose 8x10's. I did not want to pay to get 12 photos printed on canvas so I modge-podged my finished pictures onto canvas. Check out this blog for a tutorial. (FYI... I painted the canvases black before modge-podging the pictures onto them.) One thing I learned about modge-podge while doing this, DO NOT stack the photos afterwards, even if they are dry!!! I did this and my photos stuck together. If you look close, you can kind of still see some spots where the canvas stuck to the photo. Luckily it wasn't too bad, but I did have to remodge-podge everything. If you need to store them, put a piece of wax paper in between each canvas/photo.

3. Choose the method in which you want to hang your finished canvas. I chose to super glue mine to a ribbon and tie the ribbon onto a cute little knob (which I bought at Rod Works - they have the best stuff!). The worst part was getting the canvases even on the ribbons so they looked ok hanging next to each other. It isn't perfect, but close enough for me.

Jana
What a fun idea! Super cute Jana! I'm so sorry to hear about your Grandpa. I hope your body heals quickly.
ReplyDeleteThanks Ann!!
Delete